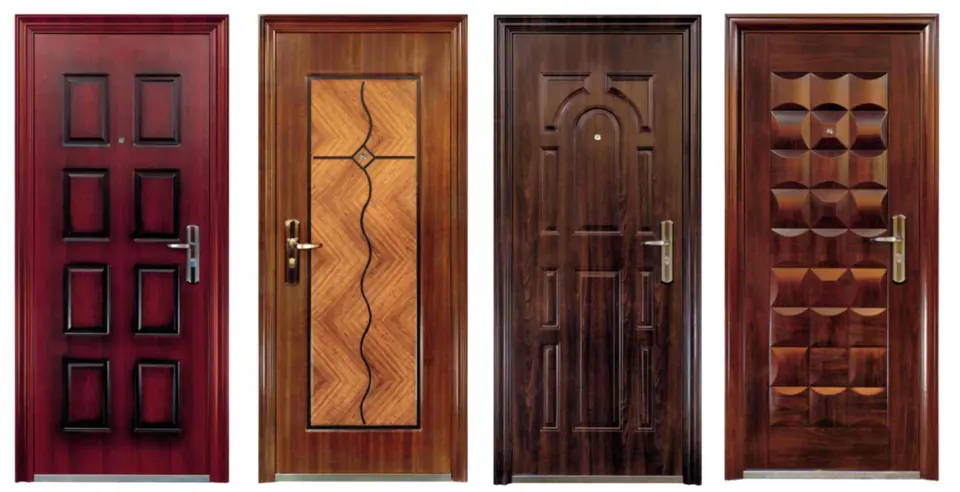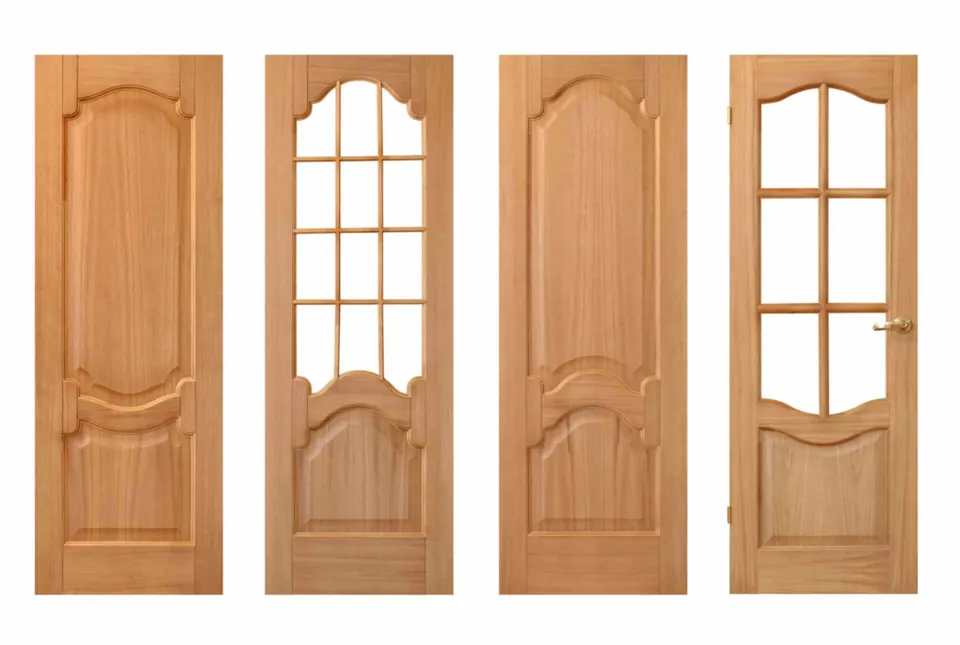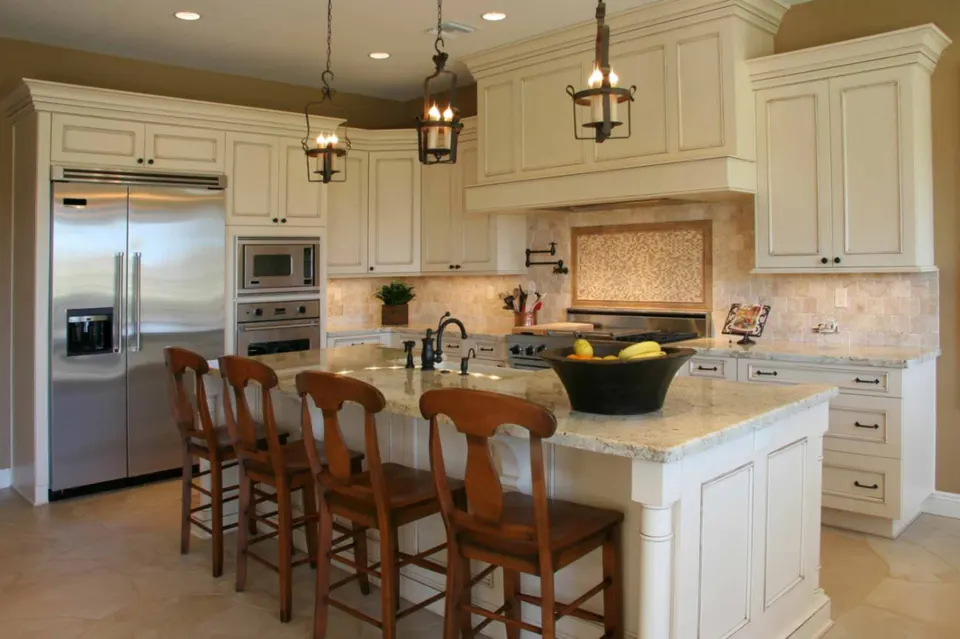
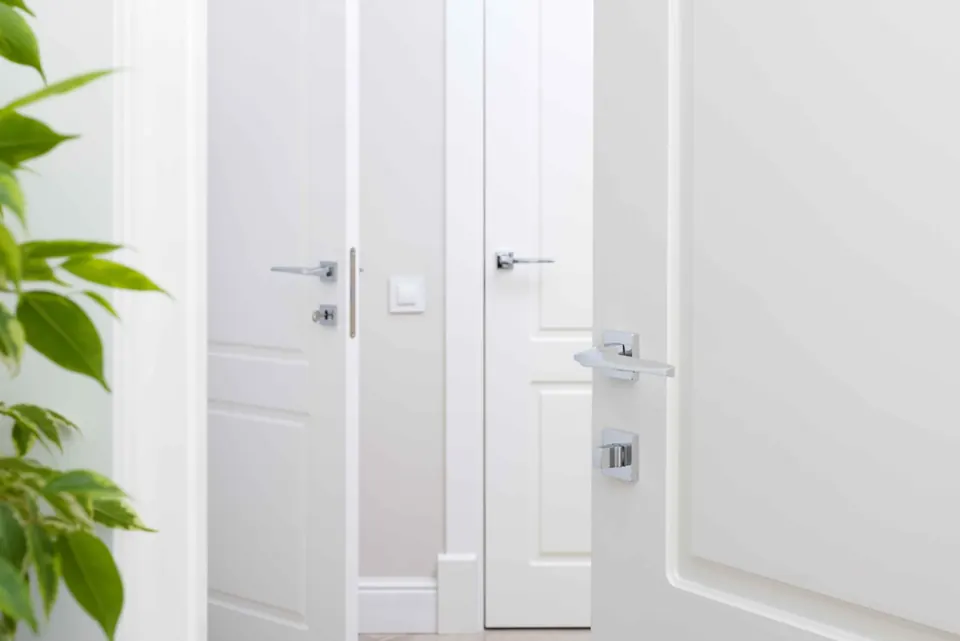
Building your own custom doors can be both rewarding and profitable, especially with a CNC router. These machines cut a wide range of shapes and designs to a very high standard, and they’ve changed what’s possible in woodworking. Here’s a step-by-step overview of how to make custom doors with a CNC router.
Understanding CNC routers
A CNC router is a cutting machine that moves along three axes — X, Y, and Z — following a computer program. It can work with wood, plastics, and some metals. Its precision and repeatability make it ideal for doors with unique designs and exact dimensions.
Good preparation and planning are the keys to a successful project, so start with materials and tooling.
Choose your materials
Wood species
Choose a wood suited to the door’s purpose. Oak, maple, and cherry are popular for their strength, durability, and natural beauty.
Thickness
Choose a thickness appropriate for how the door will be used. In the U.S., standard interior doors are typically 1-3/8 inches thick and exterior doors 1-3/4 inches.
Select your tooling
Router bits
Choose the right bits for each operation. Common choices include straight bits for cutting, V-groove bits for engraving and detail, and round-over bits for softening edges.
Load the design
Generate G-code
Convert your CAD design into G-code, the programming language CNC routers use. Most CAD/CAM software can export G-code directly.
Upload the file
Load the G-code file into the router’s control software.
Secure the material
Fasten the wood firmly to the router’s table using clamps or a vacuum hold-down. Movement during cutting ruins accuracy, so make sure it’s secure.
Cut and add detail
Run the main cutting operations first, then switch to finer bits for carving, lettering, or other detail work. Use profile bits to create moldings and trim around the door panels.
Finish the door
Sand and assemble
Sand the door smooth to prepare it for finishing. If the design includes separate parts, such as panels and frames, assemble them.
Stain and seal
Apply a stain to add depth and bring out the grain, choosing a color that complements the design. Then apply a protective finish, such as polyurethane, to guard against moisture and wear.
Install the hardware
Finally, install the hinges, handles, and locks, and make sure everything operates smoothly together.
The bottom line
A CNC router makes it possible to produce doors with remarkable detail and one-of-a-kind designs. The process moves through design, setup, cutting, finishing, and installation — and the result is a door that enhances any room and adds value to a home. For any woodworker, knowing how to use a CNC router for custom doors is a valuable skill.
Prefer to leave it to the pros? We build custom doors to your design.